-I got the pattern from Little Miss Suzy. She did a great job on her tutorial! I would check it out for directions and a pattern on how to make the books! The only thing I added was an interfacing for a thicker book :) But making 32 BOMS I picked up a few tips! Here is what I learned!
-1/4 of a yard will make 2 BOM covers.
-I would recommend a magnet roll for closures.
-I would recommend Iron on Interfacing for a layer after the fabric, and then apply your Heat and Bond material.
-ribbon, I used regular ribbon and hot glued it to the fabric.
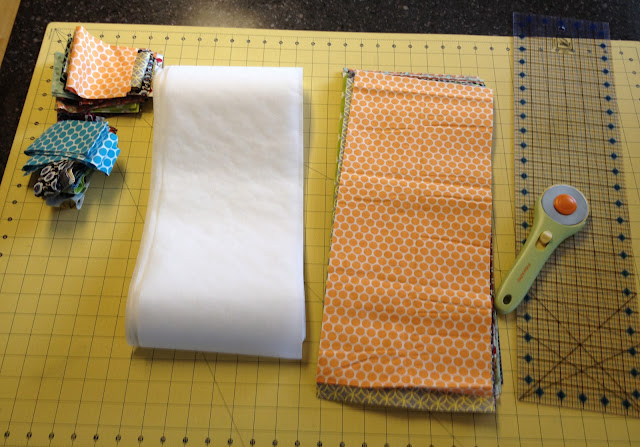
I precut all my fabric so it would be easier to make everything and get all the materials stuck together before I cut the pattern.-fabric 18x8
-iron on interfacing 18x7.5
-heat and bond 18x7.75
I made the heat and bond a little bigger than the iron on interfacing so it would make the materials underneath super secure.
1. Iron on your iron on interfacing to the wrong side of the fabric (not the pretty side.)
2. Then iron on the heat and bond on top of the iron on interfacing. After I ironed everything, I used the pattern to cut out the fabric.
If you are going to do a book mark, put it on before you iron the cover onto the BOM.
I was on a budget making these books so I used regular thread, and hot glue gunned them to the fabric before I ironed on all the fabric to the book.
When you add on all your nick nacks and doo dads...iron on your fabric cover. I recommend not using any steam. Make sure to fold your flaps over last so you have a clean edge at the top and bottom of the books, and not a cut edge.


Post a Comment